How to photograph your flat for a listing: 10 tips that boost interest
Published · 4 min read
Good photos decide whether a prospect opens your listing and gets in touch. Ten practical tips for photographing a flat, even with a phone, so that it stands out.
Photos are the first thing a prospect sees in a listing. Before reading the description or the price, they decide whether to open it. Most people skip a listing with no photos or only two dark shots. The good news is that you do not need a professional photographer for quality photos. A phone, a little preparation and these ten tips are enough.
1. Tidy up thoroughly first
A photo shows what you do not notice in daily life: dishes in the sink, scattered items, personal belongings on the shelves. Remove everything that does not belong to the flat and make the space a little emptier. The goal is for the prospect to imagine themselves living there, not you.
2. Use natural light
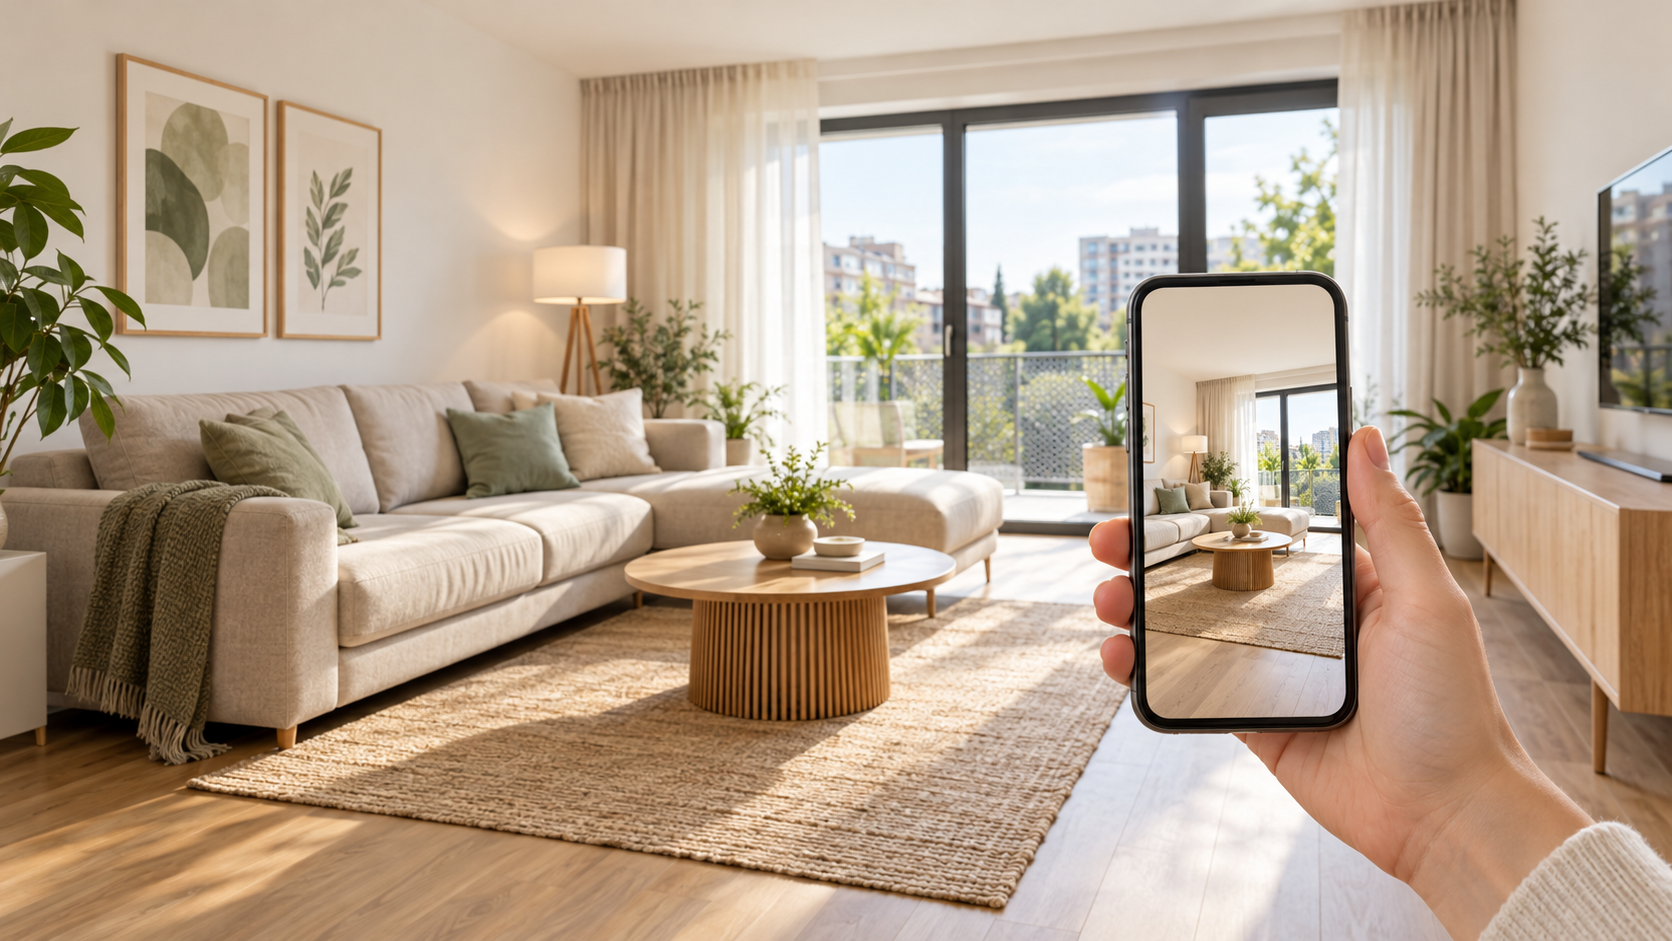
The best photos are taken during the day, when it is bright outside. Pull back the curtains, open the blinds and turn on the lights in the room as well to even out the shadows. Avoid shooting straight toward a window, because the room will look dark. If the flat faces south, try the morning or afternoon, when the sun does not shine directly into the windows.
3. Hold your phone horizontally
Landscape photos display better on the web and show more of the room. Wipe the lens before shooting; on phones it often gets smudged and photos look blurry.
4. Shoot from a corner of the room
Stand in a corner and shoot into the space, ideally at about chest height. The room looks larger and more natural this way. Keep lines straight: vertical walls and corners should be straight in the photo, not tilted.
5. The first photo should be the best
The first photo is the one shown in search results. Choose the most impressive shot, usually the living room or the main space. Arrange the other photos as a visitor would walk through the flat: entrance, living room, kitchen, bedrooms, bathroom, balcony.
6. Show all the important spaces
Prospects want to see the kitchen, the bathroom and the toilet, not just the rooms. Do not forget the balcony, loggia or terrace and the view from them. A missing bathroom photo often raises the suspicion that it is in poor condition.
7. Add details of the surroundings
A photo of the entrance, the building from outside, the parking space or the cellar completes the overall impression. If the neighbourhood is pleasant, include the street or a nearby park.
8. Do not overdo the editing
Slight brightening and cropping are fine. Heavy filters, fisheye effects or edits that change how the flat looks mislead prospects and cause disappointment at the viewing. Photos should match reality.
9. Upload enough photos
As a rough minimum we recommend at least 5 photos, and 8 or more for larger flats and houses. The more of the flat a prospect sees, the fewer questions they have and the more confidently they will contact you.
10. Refresh photos when something changes
After a renovation, or when the season changes, update your photos. A shot of a snowy garden in summer looks outdated and undermines trust in the entire listing.
What to avoid
- dark and blurry photos,
- photos with a car or people inside,
- needless duplicates of the same shot,
- photos from the internet or from another flat,
- images without the flat (only floor plans or renderings).
Quick checklist before uploading
- The flat is tidy and personal items are removed.
- Lights are on and curtains open.
- Photos are horizontal, sharp and vertical lines are straight.
- You have at least 5 shots including the kitchen and bathroom.
- The first photo is the best one.
- The photos match reality.
When your photos are ready, add them to your listing on Nesore. Adding a listing is free, and with good photos more prospects will get in touch.